DuoPlus cloud mobile phone has achieved a dual upgrade in "Renewal Management + Batch New Device Creation"
Introduction: In this new era of rapid change, every small shift can lead to new trends in the industry. DuoPlus Cloud …
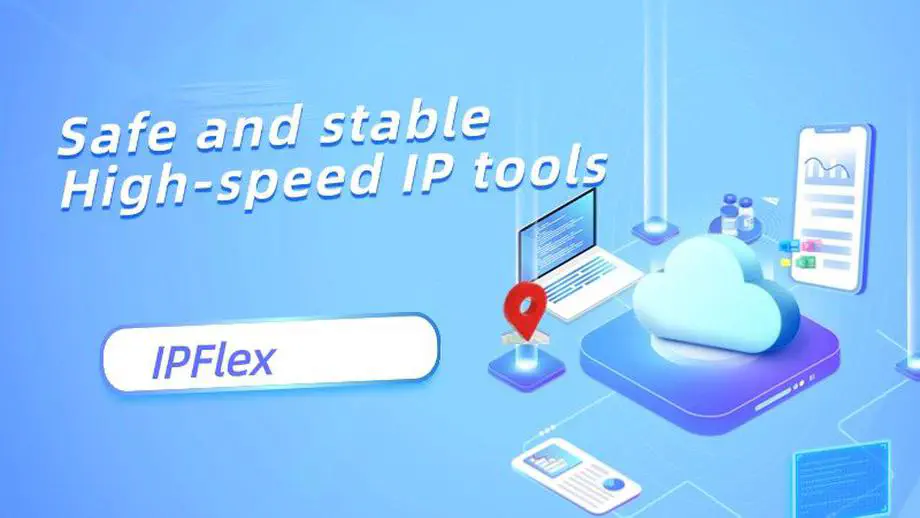
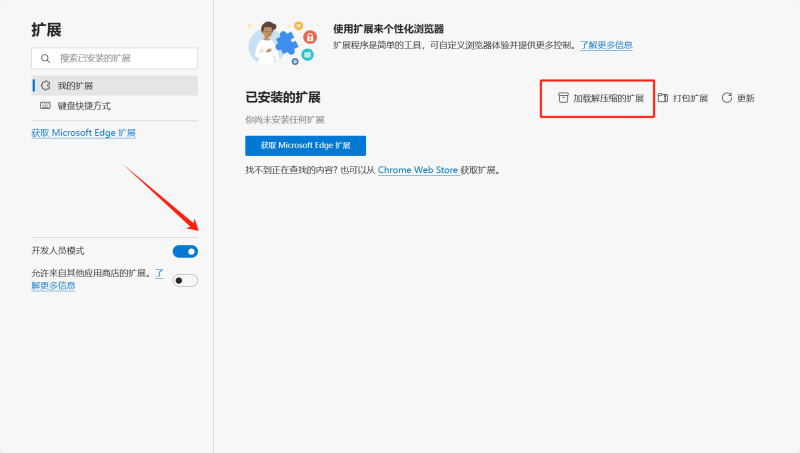
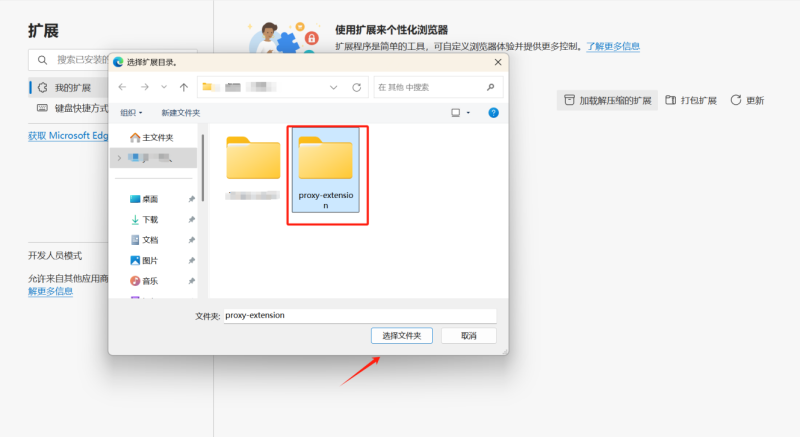
In the era of the internet, the use of proxy IPs is becoming increasingly widespread: whether it’s bypassing regional restrictions to access overseas content, protecting personal privacy, or enhancing network security, setting up a proxy IP is an efficient solution. Before configuring a proxy, you need to choose a provider based on your needs. Compared to the relatively high-risk free proxies, it’s better to opt for paid services that offer better stability and anonymity. When selecting a proxy IP provider, you can focus on the following key points: IP type, speed and stability, anonymity, and IP coverage rate. Prioritize choosing proxy services that offer multiple IP types such as static/dynamic IPs, residential/data center support, and HTTP/Socks protocols; low latency, high availability, high anonymity, and high geographical coverage of IPs. Below is the configuration guide for IPFlex proxy IP applicable to mainstream browsers, hoping to help everyone easily complete the setup. Register now and contact customer service to get a free trial of 15 units (https://www.ipflex.ink?ref=link_duoplus) !
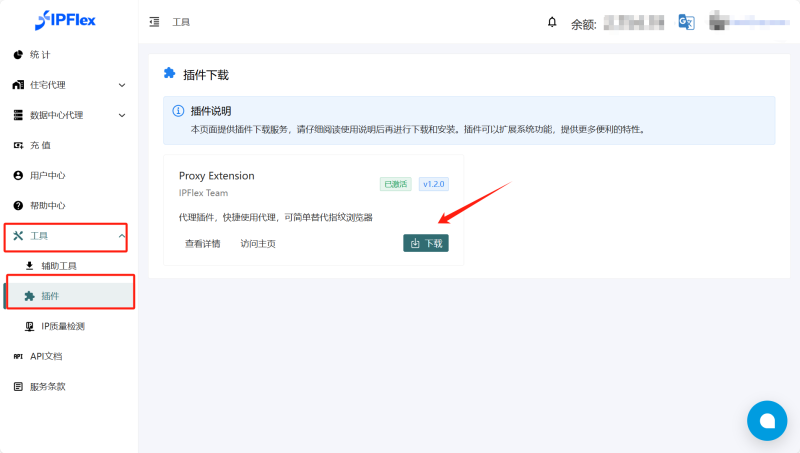

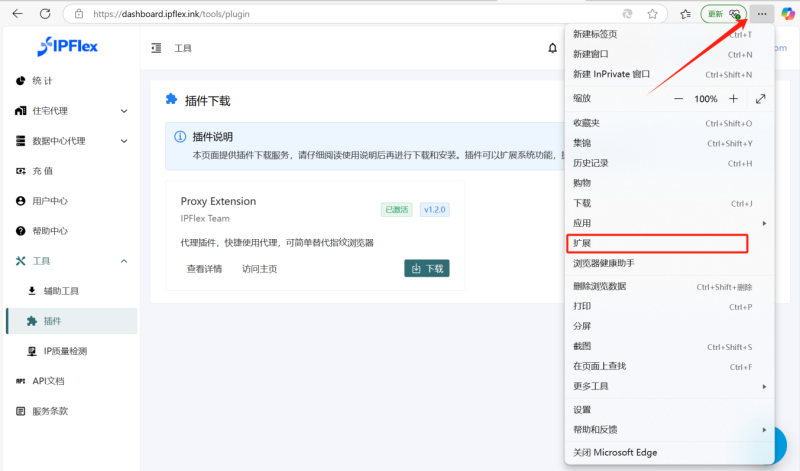
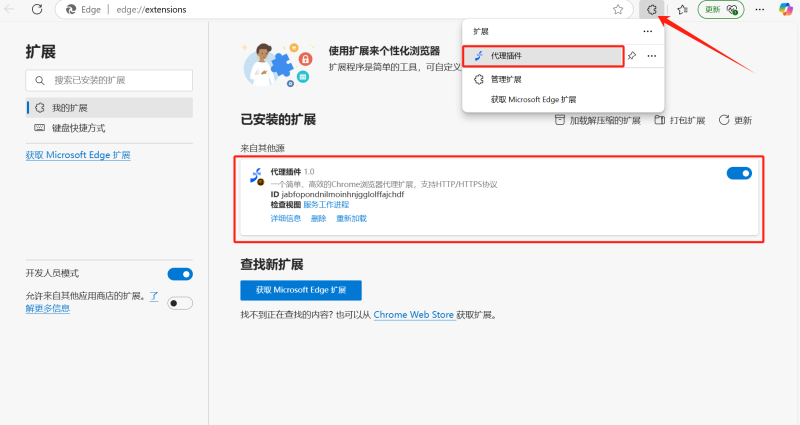

By following the above steps, users can conveniently complete the proxy IP setup in the browser! Overall, setting up a proxy IP in a browser is not complicated, but users need to carefully choose a proxy IP provider based on their needs, paying attention to key factors such as IP type, speed and stability, anonymity, and IP coverage rate, prioritizing paid services to ensure network experience and security.
Introduction: In this new era of rapid change, every small shift can lead to new trends in the industry. DuoPlus Cloud …
DuoPlus Cloud Smartphone leads the technological trend, powered by Android 15 online! Specially designed for …
No need to purchase multiple real phones.
With DuoPlus, one person can operate numerous cloud phones and social media accounts from a single computer, driving traffic and boosting sales for you.
